UIkit Align
UIkit Align– This component allows us to control the alignment of elements. Here in this tutorial, we are going to explain how to align elements in UIkit. You can also use online editor to edit and run the code online.
UIkit Align Text | Image Left | Right | Center Component Example
You can use following classes to align Text/Element/Image in UIkit-
- uk-align-left– This is used to float left with right and bottom margin.
- uk-align-right– This is used to align right with left and bottom margin.
- uk-align-center– This is used to center the element and adds the bottom margin.
Here is an example of alignment classes
UIkit Align Component Example:
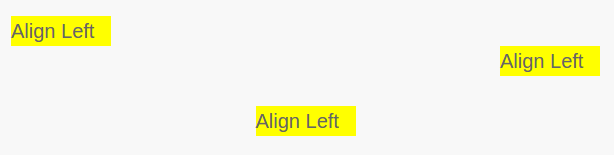
<div style="width:100px;background:yellow;" class="uk-align-left">Align Left</div> <br> <div style="width:100px;background:yellow;" class="uk-align-right">Align Right</div> <br> <div style="width:100px;background:yellow;" class="uk-align-center">Align Center</div> |
If you run the above example it will produce the output something like this-
Responsive Classes
Following responsive classes are available which will work on Only specific devices.
| Class | Description |
|---|---|
| .uk-align-left@s .uk-align-right@s |
Apply only device of width 640px and higher. |
| .uk-align-left@m .uk-align-right@m |
Apply only device of width 960px and higher. |
.uk-align-right@l |
Apply only device of width1200px and higher. |
| .uk-align-left@xl .uk-align-right@xl |
Apply only device of width 1600px and higher. |
Advertisements
Add Comment
📖 Read More
- 1. UIkit Article
- 2. UIkit Badge
- 3. UIkit Breadcrumb
- 4. UIkit Button
- 5. UIkit Card
- 6. UIkit Form
- 7. UIkit Table
- 8. UIkit List
- 9. UIkit Pagination
- 10. UIkit Progress Bar


