Category Archives: ionic tutorial
Ionic Footer
Ionic Footer : Footers are placed at the bottom of the screen which contains different types of element. You can use color options same as header. Class bar-footer is used to create footer in ionic. You can add links and buttons in footer as per your need. We are going to explain the footer functionality with example and demo.
Ionic Footer
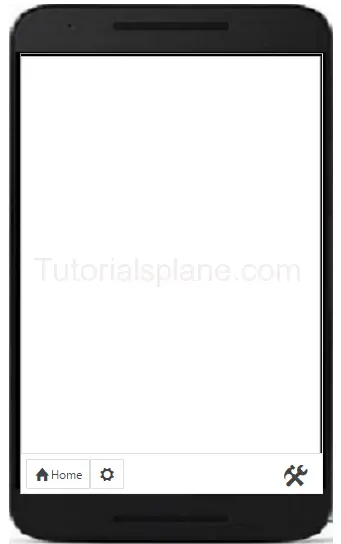
Add the following css to add footer in your App-
If you run the above example it will produce the following output-
Ionic Footer Colors
Here are ionic color options available-
| No | Class | Color name | Color |
|---|---|---|---|
| 1 | bar-light | White | |
| 2 | bar-stable | Light Gray | |
| 3 | bar-positive | Blue | |
| 4 | bar-calm | Light blue | |
| 5 | bar-balanced | Green | |
| 6 | bar-energized | Yellow | |
| 7 | bar-assertive | Red | |
| 8 | bar-royal | Violet | |
| 9 | bar-dark | Black |
You can use the above colors in ionic footer.
Footer With Link
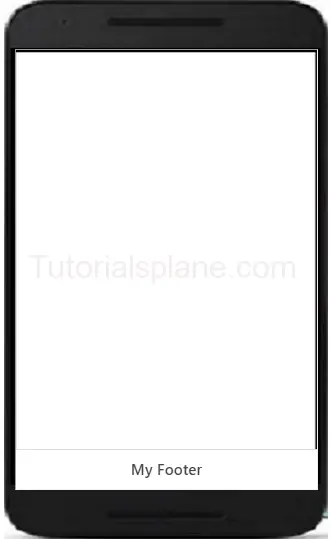
You can use icons, buttons and links in footer to perform actions.
If you run the above example it will produce the following output-
Footer With Icon
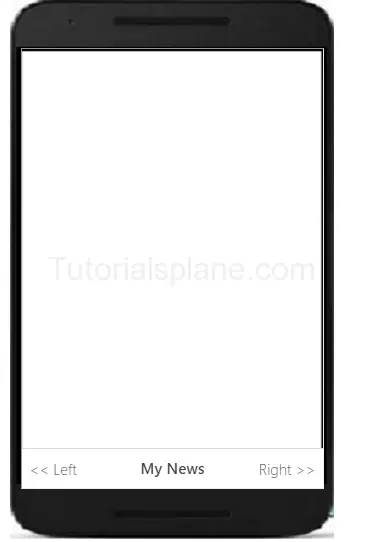
You can use icons in footer to perform actions.
If you run the above example it will produce the following output-
Ionic Content
Ionic Content : Content in ionic is scrollable area which contains the content which are being displayed on the major portion of the app ie. between header and footer. Content area is scrollable, footer and header are fixed at the top and bottom. Content can static or dynamic depending upon you app. Content area can contain headings, paragraphs, buttons links etc. You can use own formatting (such as padding, overflow etc) to display data in content. We are going to explain the tags and classes used for displaying content area in your app.
Ionic Content
Here is class to add content area in your application –
Ionic Content Area Example-
|

Ionic Header
Ionic Header : Ionic Header is bar which is located at the top of the screen. Basically header contains the Title, logo or navigation buttons. Class .bar-header is used to create header which is by default placed at the top of the screen. We will explain the header example with demo in this tutorial.
Ionic Header Example
Here is class to add the default header bar.
Class bar bar-header
Header Css Class
|
|
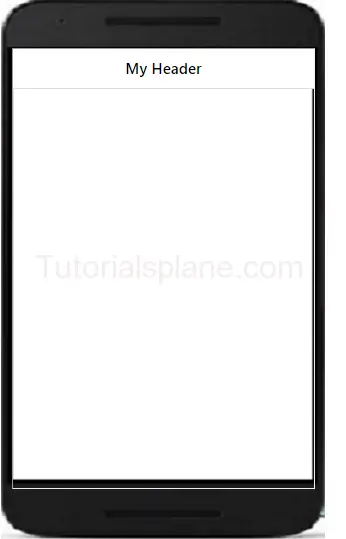
If you run the above example it will produce the following output-
Header Colors Example
bar-light
This is default color “white”
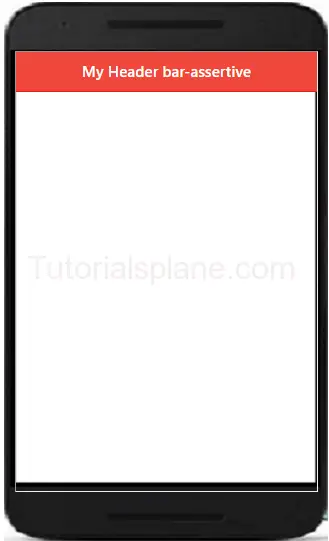
bar-assertive
This is default color “white”
The above example will produce following output-
List of colors available in Ionic Framework –
| No | Class | Color name | Color |
|---|---|---|---|
| 1 | bar-light | White | |
| 2 | bar-stable | Light Gray | |
| 3 | bar-positive | Blue | |
| 4 | bar-calm | Light blue | |
| 5 | bar-balanced | Green | |
| 6 | bar-energized | Yellow | |
| 7 | bar-assertive | Red | |
| 8 | bar-royal | Violet | |
| 9 | bar-dark | Black |
Ionic Sub Header
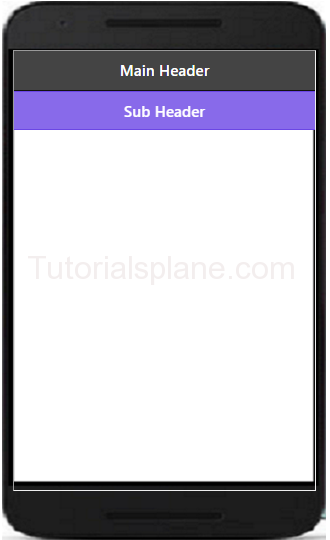
Sub header is bar placed below the main bar. You can customize the sub header as per your need. We are going to create a sub header following the main header in dark color using the bar-dark class. Here is an example of ionic sub header-
The Above Example will produce output something like this –
More Examples
Let’s have look over more Header example and demo here.
Ionic Add Header Search Bar with Icon
Almost every application need search bar placed at the header which enables the users to search content. You can add the search bar with icon as below –
Ionic Header Title Center
Ionic by default adds the header title in center if you are still facing issue while centering the header title you can add the class – title-center as below –
Ionic Header Title Center:
|
|
Ionic Add header Button | Navigation Button
Sometimes we need to add the button in header. It is very simple to add button in header. You can add nav button with icon and other buttons as below –
Ionic Add Icon to Header | Add Logo Example
You can add logo or image in header as below –
Ionic Installation
Ionic Installation: Here We are going to explain the steps to install the most popular ionic framework on windows. The first and most important thing which needs to be considered is minimum requirement for building app. Ionic basically targets Android and iPhone Devices.
Ionic is supported in the following version of iOS and Android –
iOS 6+ :Ionic Supports in All iOS 6+ versions
Android 4.0+ : Ionic Supports all devices having Android 4.0+ versions.
You can develop on any operating system you wish. However we are going to explain the steps to install ionic on windows.
Ionic Installation & Environment Setup On Windows &
Steps To Install Ionic On Windows –
- Install Node.js. If You have not installed node.js install first here are steps to install node.js – Install Node.js
Check Node.js is Installed ?
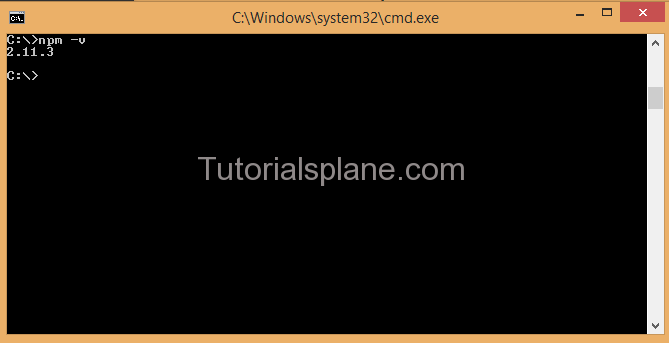
You can check Node.js Version as Below –
Open terminal and type npm -v which will return the version of node.js.
npm -v
- Install Cordova – Install Latest Version of Cordova to use native functionalities.
Run the following command to install cordova.
Ionic Install Apache Cordova-
npm install -g cordova
Note : Before Installing Cordova Make Sure Node.js is Installed. - Install Ionic: Install Ionic Command is –
Ionic Install Command-
npm install -g ionic
Which Will Install Ionic on your system. Now Your system is ready you can use ionic’s powerful CLI to create,start and build the projects.
- Create Sample Project : You can create sample Project As Below –
Ionic Create First App “myApp”-
ionic start myApp blank
Which Will Create A Blank Project.
- Run Ionic App : You Can Use the following command to run the “myApp” Which will open in browser-
Ionic Create First App “myApp”-
ionic serve
Ionic Introduction
Ionic Introduction : ionic framework is open source front-end SDK for developing Hybrid mobile application using web technologies. ionic is free and open source which has library of mobile-optimized HTML, CSS and JS components, gestures and tools for creating interactive apps. We are going learn in this tutorial how to create mobile apps using ionic framework with high performance. It’s easy and simple learn each and everything with our online editor .
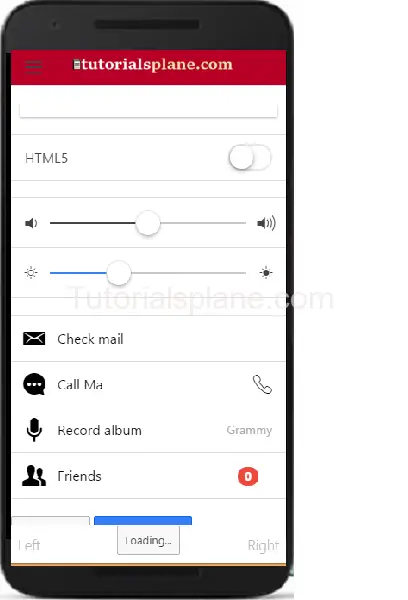
Create Mobile Apps With Ionic
Ionic is easy, Fast and Beautiful. Enjoy and Learn It.
Ionic is built with Saas and AngularJs which makes it complete and more powerful development package.
Ionic Features
Here are some features of Ionic-
- High Performance- : Performance is first and most important before using an app. Ionic provides great performance with minimum DOM manipulation and zero jQuery and hardware accelerated.
- Native Focused: Ionic uses Cordova library to provide native features like communicate with hardware such as – camera.
- Beautiful Design : Ionic is designed to provide beautiful experience to the users.
- Powerful CLI Ionic provides rich CLI. There is just single command to create, build, test, and deploy Ionic apps on any platform. It has many amazing commands to work on the project.
- Optimized : Ionic is optimized as it uses minimal DOM manupulationa and 0 jQuery. If you follow Ionic rules you will definitely fall in love with it.
Ionic framework Advantages and Disadvantages
Advantages-
- Ionic is open source means you can use it free of cost.
- Ionic provides very neat and clean code base which is very easy to update and maintain.
- Ionic has powerful CLI.
- Ionic is very simple to learn and build applications.
Disadvantages-
- Sometimes it is tough to use native functionality.
- Apps are a little bit slower than native apps but it also depends on the coding skills. It will be no longer issue as mobile devices are upgrading.

